Embrace the Spirit of Autumn with Easy Halloween Pumpkin Bread
As the leaves turn golden and a crisp chill fills the air, there's an undeniable magic that whispers of pumpkin patches, cozy evenings, and, of course, delicious baked treats. And what better way to celebrate the season than with a batch of perfectly baked, enchantingly shaped pumpkin bread halloween edition? Forget the bland, everyday loaf – we're talking about soft, golden mini pumpkins, each concealing a decadent secret that's sure to delight every ghoul and goblin at your table. This isn't just a recipe; it's an invitation to infuse your kitchen with the heartwarming aromas of autumn and your Halloween festivities with an extra touch of edible charm. Imagine biting into a tender, spiced bread, rich with the natural sweetness of real pumpkin, only to discover a melty square of dark chocolate, gooey and warm, hidden within. These adorable creations rise beautifully, bake to a gorgeous golden brown, and are almost too cute to eat… *almost*. Whether you're planning a Halloween bash, a festive brunch, or simply craving that unmistakable autumn fragrance, this special take on pumpkin bread is your go-to.Why "Pumpkin Bread Halloween Edition" is Your Fall Must-Have
The charm of our pumpkin bread halloween edition lies in its unique blend of traditional fall comfort and playful spooky delight. It's more than just a sweet treat; it's an experience. The moment these mini pumpkin breads emerge from the oven, your home will be filled with the intoxicating scent of warm spices, butter, and sweet pumpkin – a quintessential aroma of fall. What sets this pumpkin bread apart?- The Surprise Factor: A hidden square of dark chocolate in the center of each mini loaf transforms a simple bread into a magical, melty delight. It's a sweet surprise that elevates every bite.
- Irresistible Texture: Made with real pumpkin purée and a hint of melted butter, these breads are incredibly soft, moist, and tender. They practically melt in your mouth.
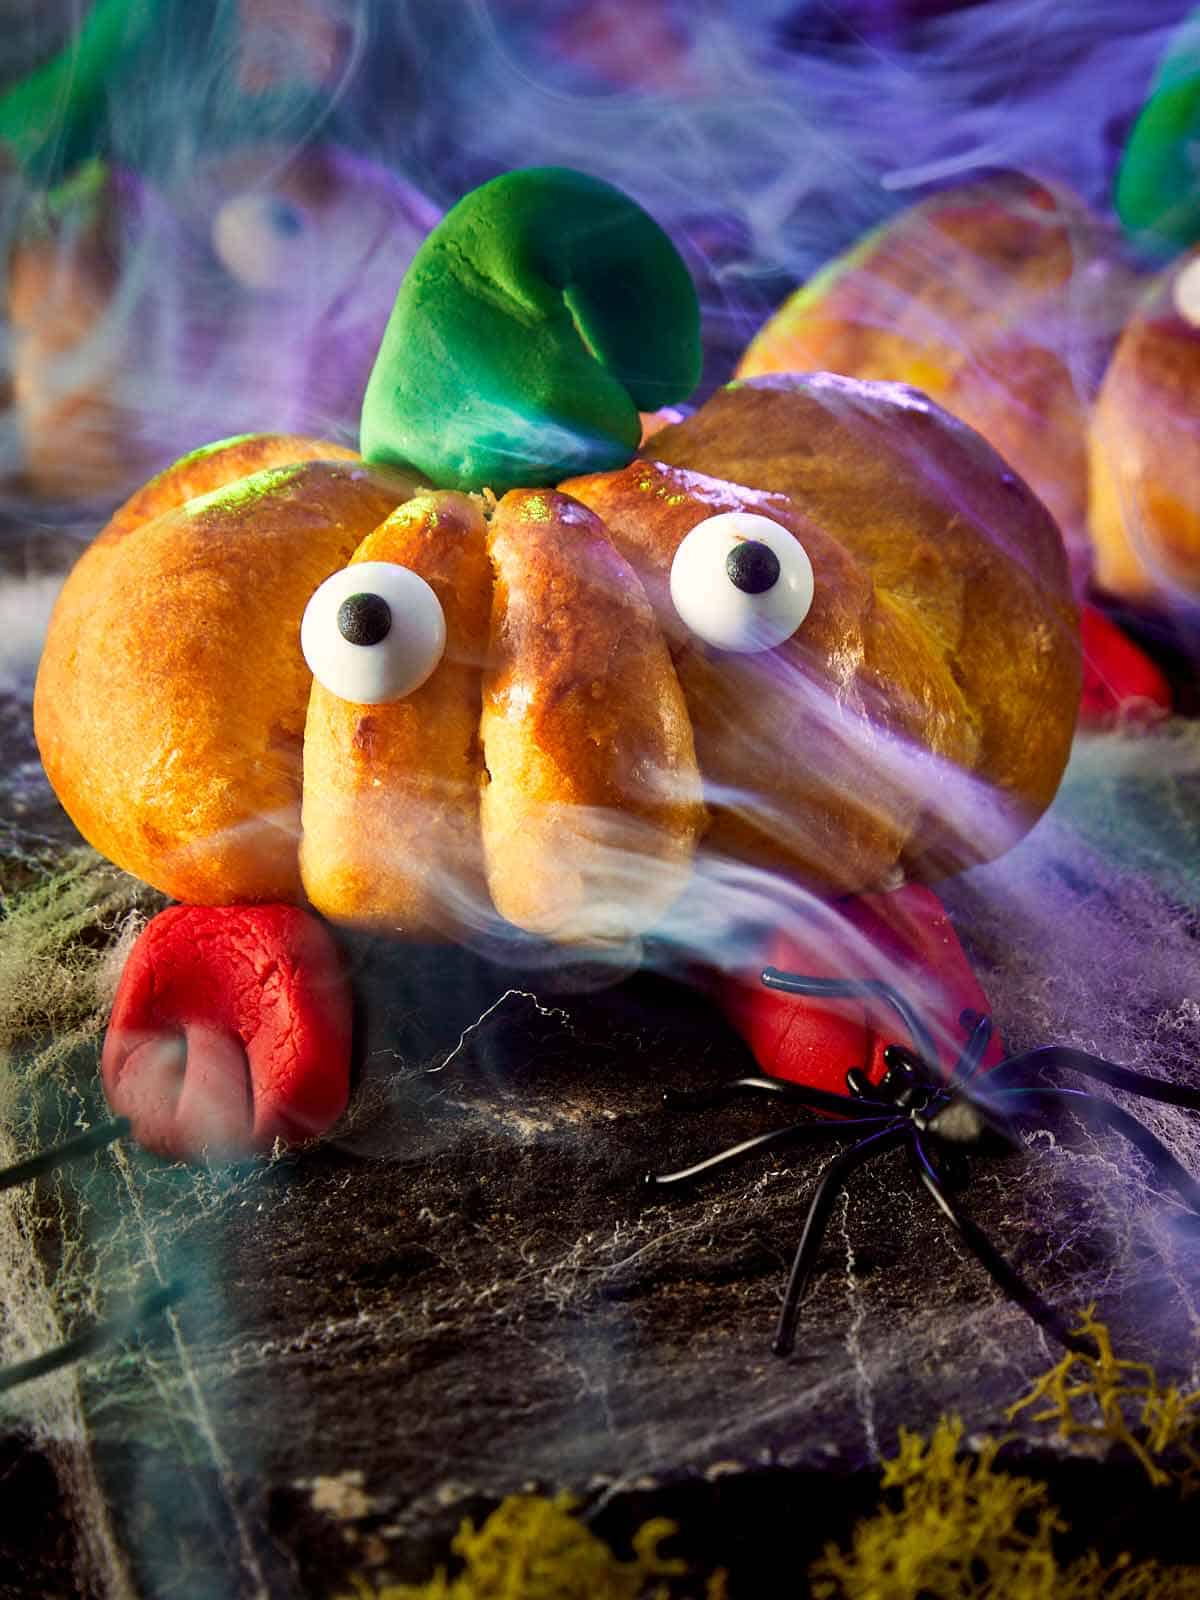
- Adorable Presentation: Shaped like miniature pumpkins, they are visually stunning and perfect for themed gatherings. Adding a couple of candy eyes turns them into instant Halloween stars.
- Authentic Fall Flavor: The recipe harnesses the natural sweetness and earthy notes of pumpkin, complemented by warming spices that evoke all the cozy feelings of autumn.
The Magic Behind the Melt: Key Ingredients for Perfect Halloween Pumpkin Bread
The secret to these soft, golden, and perfectly spiced mini pumpkins lies in a handful of simple ingredients that work in beautiful harmony. Understanding the role of each component will help you achieve baking perfection every time.- Pumpkin Purée: This is the heart of our bread, giving it that gorgeous autumnal color, natural sweetness, and unmistakable fall flavor. Opt for 100% pure pumpkin purée, not pumpkin pie filling, which contains added sugars and spices that can alter the recipe balance. Pumpkin also contributes significantly to the bread's incredible moisture and tender crumb.
- Melted Butter: A touch of melted butter adds luxurious richness and ensures every bite is wonderfully soft and tender. Butter also contributes to that beautiful golden crust as the bread bakes.
- Dark Chocolate: The star of the hidden surprise! A good quality dark chocolate square (around 60-70% cocoa solids) is ideal. It provides a delightful contrast to the sweet pumpkin bread and creates that irresistible gooey center when warm. Don't be afraid to experiment with milk chocolate for a sweeter profile or even a square of white chocolate for a different visual and flavor twist.
- Milk: Essential for bringing the dough together, milk contributes to the bread's overall moisture and softness. Using lukewarm milk is crucial for activating the yeast properly.
- Active Dry Yeast: Unlike traditional "quick breads" that rely on baking powder or soda, this pumpkin bread halloween edition uses yeast. This gives the bread a more traditional, bready texture, a beautiful rise, and a richer, more complex flavor profile that quick breads can't quite achieve.
- All-Purpose Flour: The structural backbone of our bread, providing the necessary gluten development for a soft yet chewy texture.
- Sugar & Salt: Sugar not only sweetens the bread but also feeds the yeast, helping it to activate and grow. Salt enhances all the other flavors, balancing the sweetness and richness.
- Egg: Used in the dough for richness and tenderness, and as an egg wash for that beautiful golden-brown, slightly glossy finish on top.
Crafting Your Spooky Sweet Treats: A Step-by-Step Guide
Bringing these cute mini pumpkin breads to life is a delightful baking adventure. Follow these steps carefully, and you'll be rewarded with a batch of truly special treats.Getting Started: Activating Yeast & Mixing Your Base
Begin by warming your milk until it's just lukewarm, around 105-115°F (40-46°C). It should feel warm to the touch, but not hot – too hot will kill the yeast. Stir in the active dry yeast and let it sit for 5-10 minutes until it becomes foamy, indicating it's active. In a large mixing bowl, combine the pumpkin purée, melted butter, and half of a lightly beaten egg. This forms the rich, moist base for your dough.
Developing Flavor & Structure: Dough Formation & Kneading
To the wet ingredients, add your sugar and salt, then pour in the activated milk-yeast mixture. Mix until everything is just combined. Gradually stir in the flour, a cup at a time, until a soft, slightly sticky dough forms. Avoid overmixing at this stage. Cover the bowl with plastic wrap and let it rest for 15 minutes. This resting period, known as autolyse, allows the flour to fully hydrate, making the dough easier to knead. Transfer the dough to a lightly floured surface and knead for at least 10 minutes. While it might feel sticky initially, resist the urge to add too much extra flour. Work quickly, pushing and folding the dough until it becomes smooth, elastic, and less sticky. A properly kneaded dough will spring back when gently poked.
The Art of the Rise: First Proofing & Dividing
Place your kneaded dough into a lightly oiled bowl, turning once to coat, then cover with plastic wrap. Let it rise in a warm, draft-free place for about 1 hour, or until it has visibly doubled in size and feels airy when gently pressed. This first rise develops much of the bread's flavor and texture. Once risen, gently deflate the dough and knead lightly for a minute to release excess air. Divide the dough into 10 equal pieces, roughly 55 grams each. Precision here helps ensure even baking and uniform mini pumpkins.
The Hidden Treasure: Filling & Shaping Your Mini Pumpkins
Take each dough piece and flatten it into a small disc. Place one square of dark chocolate (or your chosen filling) in the center of the disc. Carefully gather the edges of the dough around the chocolate and pinch them together firmly to seal it completely, forming a smooth ball. Ensure there are no gaps where the chocolate could escape during baking. Now for the fun part: shaping! Take a long piece of kitchen twine (unwaxed, food-safe cotton twine is best) and loosely wrap it around each dough ball, creating four or five even sections to mimic the ridges of a pumpkin. Don't tie it too tightly, as the dough needs space to expand.
The Grand Finale: Second Rise, Egg Wash & Baking
Arrange your shaped, twine-wrapped pumpkin breads on a baking sheet lined with parchment paper, leaving enough space between them for expansion. Cover loosely with plastic wrap and let them rise for another 30 minutes. This second, shorter rise further enhances the texture and ensures a light, airy bread. While they rise, preheat your oven to the specified temperature. Just before baking, gently brush the tops of each mini pumpkin with the remaining beaten egg. This egg wash will give them a beautiful golden sheen and a slightly crisp crust. Bake until golden brown and firm to the touch. Your kitchen will be filled with the most incredible aroma! Let them cool slightly on a wire rack before carefully removing the kitchen twine.
Personalizing Your Pumpkin Breads: Decoration Ideas
Once cooled and the twine is removed (leaving behind those charming pumpkin grooves), it's time to add the "Halloween" touch! Simple candy eyes are always a hit, making each mini bread a cute, edible character. You can attach them with a dab of frosting or melted chocolate. For a more sophisticated look, consider a light dusting of powdered sugar, a delicate drizzle of a simple glaze (powdered sugar mixed with a little milk or orange juice), or even a small edible green candy or pretzel stick for a "stem." Get creative with edible glitter, Halloween-themed sprinkles, or draw small spooky faces with food-safe markers. The possibilities are endless to make your pumpkin bread halloween edition truly unique!
