Embrace Autumn Magic with Homemade Mini Pumpkin Breads: Real Pumpkin & Rich Dark Chocolate
As autumn leaves paint the landscape in hues of gold and crimson, there's a certain magic that beckons us into the warmth of our kitchens. The crisp air whispers of pumpkin patches, cozy sweaters, and the delightful aroma of freshly baked goods. This season, elevate your baking game with something truly special: homemade mini pumpkin breads, lovingly crafted with real pumpkin purée and a decadent surprise of rich dark chocolate hidden within. These aren't just any treats; they are the ultimate pumpkin bread halloween edition, perfect for enchanting guests, delighting little monsters, or simply savoring a quiet moment of autumnal bliss. Imagine biting into a soft, golden, spiced bread, only to discover a warm, melty core of dark chocolate. It's a culinary hug, a little piece of fall heaven, and an experience that encapsulates everything wonderful about the season. These adorable mini pumpkin-shaped breads are almost too cute to eat… almost. Get ready to fill your home with the irresistible scent of butter, spice, and pumpkin, and prepare to be utterly charmed by these festive bakes.The Enchantment Behind These Adorable Mini Pumpkin Breads
What makes these mini pumpkin breads so irresistible? It's a harmonious blend of simple, wholesome ingredients transformed through careful preparation into something truly extraordinary. Unlike many quick breads that rely on chemical leaveners, this recipe embraces the traditional art of yeast-leavened dough, resulting in a bread with an incredibly tender crumb and a satisfying chew that quick breads simply can't replicate. Each mini loaf is a testament to the comforting flavors of fall, meticulously designed to bring joy with every bite.The Core Ingredients: A Symphony of Fall Flavors and Textures
The secret to their sublime taste and texture lies in a few star components that work in perfect concert: * Real Pumpkin Purée: This isn't just for flavor; it’s the heart and soul of these breads. Pumpkin purée imparts that iconic autumnal taste, a beautiful golden-orange hue, and incredible moisture, ensuring a remarkably tender crumb. It’s naturally sweet, reducing the need for excessive added sugars and letting the pumpkin shine. * Melted Butter: Butter brings richness and a luscious mouthfeel that's unparalleled. It contributes to the golden crust and helps keep the interior exquisitely soft and tender, elevating the overall indulgence factor. * Dark Chocolate: Ah, the glorious surprise! Tucked into the center of each mini bread, a square of good quality dark chocolate melts into a gooey, luxurious pool during baking. This unexpected burst of bittersweet decadence perfectly complements the warm spices of the pumpkin bread, turning a simple treat into a magical experience. * Active Dry Yeast & Lukewarm Milk: These are the dynamic duo responsible for the bread's beautiful rise and airy texture. The yeast, activated by lukewarm milk, works its magic, creating pockets of air that give the bread its signature softness. * Flour, Sugar, and Salt: The foundational trio that binds everything together. Flour provides the structure, sugar adds sweetness and aids in browning, and a pinch of salt balances all the flavors, making them pop. Together, these ingredients create a sensory delight that’s perfect for Halloween parties, autumnal brunches, or simply making any day feel a little more festive. For more fun ideas on creating adorable treats for the season, check out our guide on Adorable Mini Pumpkin Breads: Melty Chocolate for Halloween Fun.Crafting Your Ultimate Pumpkin Bread Halloween Edition: A Step-by-Step Guide
Embarking on this baking journey is a rewarding experience. While it involves a bit more hands-on time than a quick bread, the results—a soft, golden, beautifully risen pumpkin bread with a gooey chocolate heart—are absolutely worth every moment. Here’s how to bring these captivating cuties to life in your own kitchen:1. Activate the Yeast & Mix the Base
- Warm your milk gently until it’s just lukewarm, ideally between 105-115°F (40-46°C). It should feel warm to the touch but not hot. Too hot will kill the yeast; too cold, and it won't activate.
- Stir in the active dry yeast and let it sit for 5-10 minutes. You're looking for a foamy layer to appear on top, indicating your yeast is alive and ready to work.
- In a large mixing bowl, combine the pumpkin purée, melted butter, and half of a beaten egg. Add the activated yeast mixture to this wet base.
2. Add the Dry Ingredients & Rest
- Stir in the sugar and salt until dissolved.
- Gradually add the flour, mixing until a soft, shaggy dough forms. It doesn’t need to be perfectly smooth yet.
- Cover the bowl with plastic wrap or a clean kitchen towel and let the dough rest for 15 minutes. This short rest allows the flour to fully hydrate and the gluten to begin relaxing, making kneading easier.
3. Knead the Dough to Perfection
- Transfer the rested dough to a lightly floured surface. Knead vigorously for at least 10 minutes. At first, it might feel sticky, but resist the urge to add too much extra flour. A light dusting is fine.
- As you knead, the dough will transform, becoming smooth, elastic, and less sticky. A properly kneaded dough will spring back slowly when poked. This process develops the gluten, which is crucial for the bread's structure and tender texture.
4. The First Rise: Building Volume and Flavor
- Lightly grease a clean bowl with oil. Place the kneaded dough in the bowl, turning it once to coat.
- Cover the bowl tightly with plastic wrap or a damp towel and place it in a warm, draft-free spot. Let it rise for about 1 to 1.5 hours, or until it has visibly doubled in size and feels airy when gently pressed. This long, slow rise develops complex flavors in the bread.
5. Divide, Fill, and Shape into Mini Pumpkins
- Gently deflate the risen dough and knead it lightly for a moment to release any large air bubbles.
- Divide the dough into 10 equal pieces, aiming for about 55g each for consistency. A kitchen scale is your best friend here!
- Flatten each piece into a small disc. Place one square of dark chocolate in the center of each disc. Carefully pinch the edges of the dough together to completely seal the chocolate inside, forming a smooth, tight ball. This prevents the chocolate from oozing out during baking.
- To create the pumpkin shape, take a piece of kitchen twine (unwaxed, food-safe) about 12-15 inches long. Gently wrap the twine around the filled dough ball, creating 4-6 evenly spaced sections, crisscrossing at the top and bottom. Tie it loosely so there's room for the dough to expand during the second rise.
6. The Second Rise & Egg Wash
- Arrange the shaped pumpkin breads on a baking sheet lined with parchment paper, leaving space between them.
- Cover them loosely with plastic wrap or a light cloth and let them rise for another 30 minutes. They will puff up slightly.
- Preheat your oven during this time. Whisk the remaining half of the beaten egg with a tablespoon of water to create an egg wash. Gently brush the tops of the pumpkin breads with this wash; it will give them a beautiful golden-brown, glossy finish.
7. Bake to Golden Perfection
- Bake the mini pumpkin breads in the preheated oven until they are gloriously golden brown and feel slightly firm to the touch. The baking time will vary depending on your oven, but typically around 15-20 minutes.
- Your kitchen will be filled with the most heavenly aroma of warm pumpkin, butter, and spice—a true autumnal symphony!
- Once baked, let them cool slightly on a wire rack.
8. Decorate & Serve
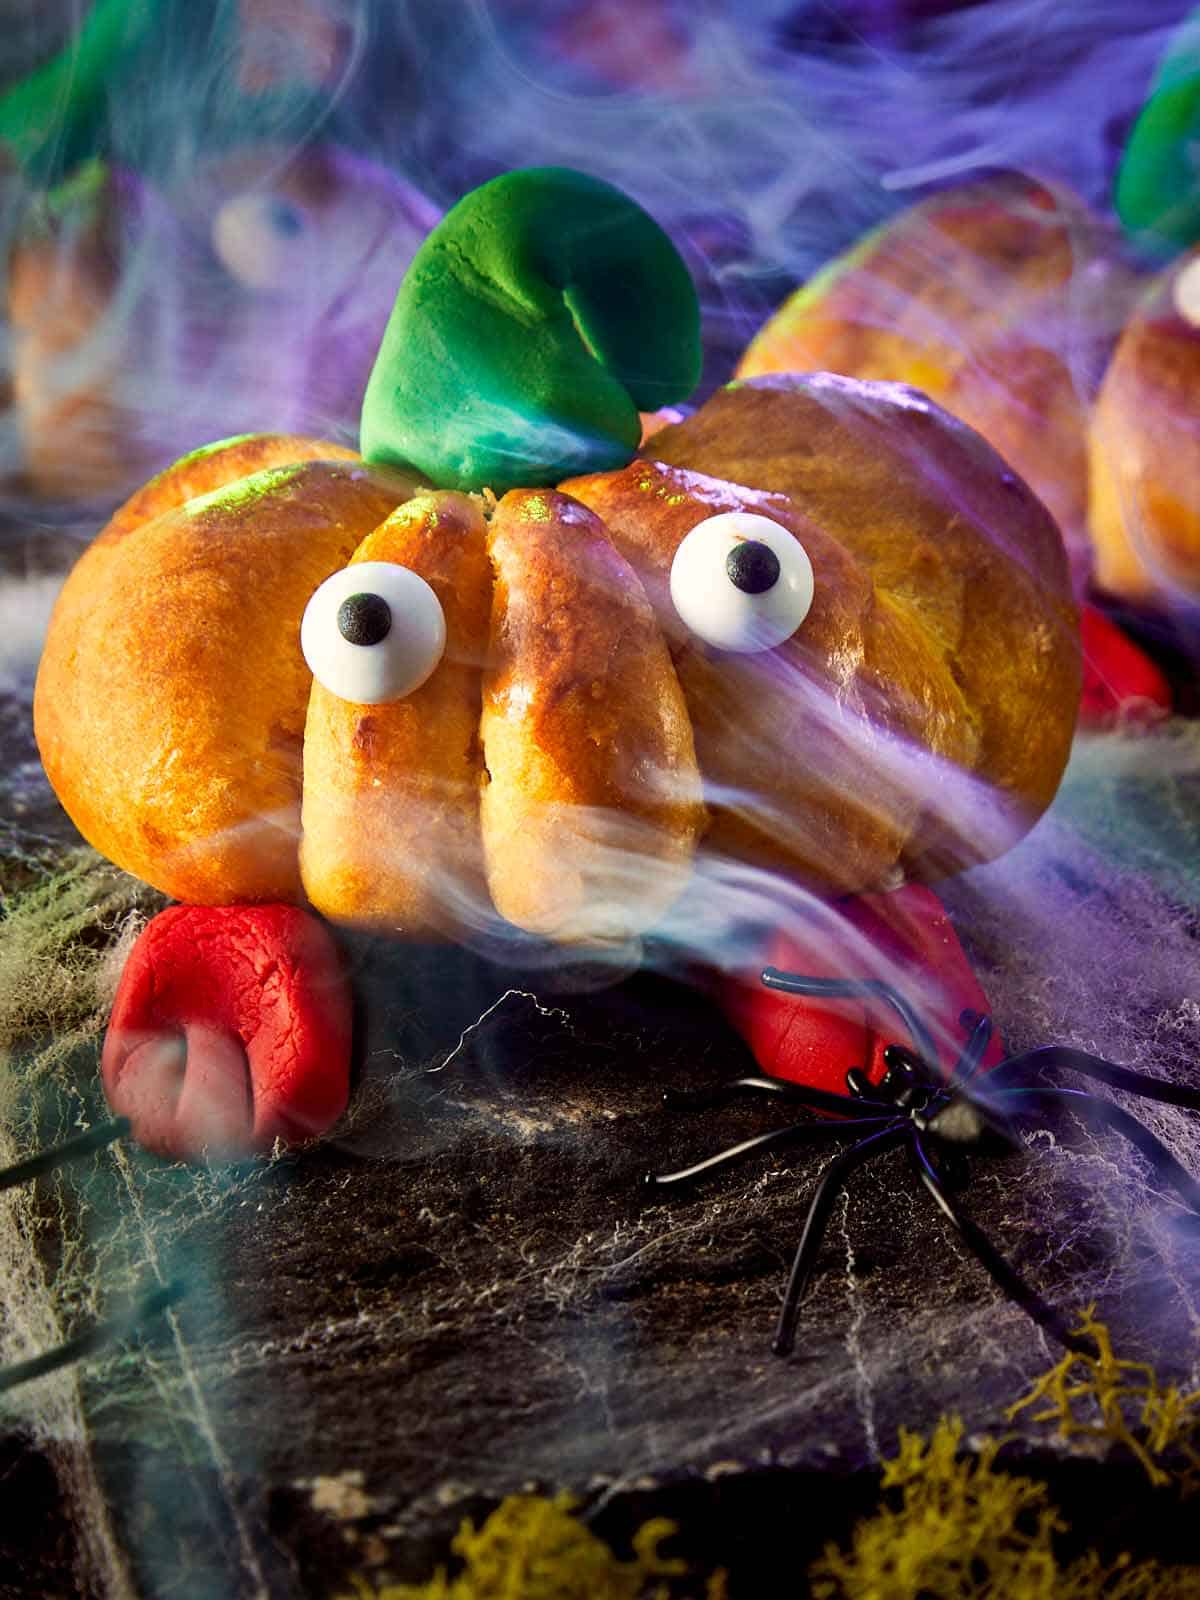
- Once cool enough to handle, carefully snip and remove the kitchen twine. The creases left by the twine will beautifully mimic the ridges of a pumpkin.
- For the ultimate pumpkin bread halloween edition look, add a small piece of pretzel stick or a cinnamon stick for a "stem" and affix candy eyes with a tiny dab of frosting.
- Serve them warm to enjoy that irresistible melty chocolate core, or at room temperature. They are best enjoyed fresh from the oven, perhaps with a mug of spiced cider or a hot cup of coffee.
Elevating Your Pumpkin Bread Halloween Edition Experience
Beyond the basic recipe, there are many ways to personalize and perfect your mini pumpkin breads.Troubleshooting Tips for Success
- Yeast Not Activating? Ensure your milk temperature is spot on. If no foam appears, your yeast might be old or the milk too hot/cold. Start again with fresh yeast.
- Dough Too Sticky? A slightly sticky dough is normal for yeast breads. Resist adding excessive flour; instead, lightly flour your hands and work surface. A dough scraper can also be helpful.
- Chocolate Oozing Out? This usually means the dough wasn't sealed tightly enough around the chocolate. Make sure to pinch the seams together securely.
- Breads Not Rising? Confirm your yeast is active and your rising environment is warm and draft-free. Patience is also key – sometimes dough just needs a little more time.
Creative Variations & Enhancements
- Spice it Up: Feel free to add a pinch of nutmeg, ginger, allspice, or cloves to your dough for an even richer spice profile. A touch of maple extract can also deepen the fall flavor.
- Chocolate Choices: While dark chocolate is specified, experiment with milk chocolate, white chocolate, or even a mix of chocolate chips if you prefer. For a different texture, you could also fold mini chocolate chips into the dough itself.
- Decorative Flair: Beyond candy eyes, consider using small green frosting leaves or even a tiny piece of real cinnamon stick for an authentic stem. A simple drizzle of maple glaze (powdered sugar + maple syrup + milk) can also add extra sweetness and visual appeal.
- Larger Loaves: If mini breads aren't your style, you can combine the dough into larger loaves, adjusting baking time accordingly. Just remember to still add that chocolate surprise!
Storage and Reheating
These mini pumpkin breads are best enjoyed fresh, but they can be stored in an airtight container at room temperature for up to 2-3 days. For that "fresh from the oven" experience, warm them briefly in the microwave or a low oven until the chocolate is melty again. They also freeze well for up to a month; thaw at room temperature, then warm as desired.
If you're looking for an even quicker pumpkin bread fix, or want to explore different textures, you might enjoy our article on Easy Halloween Pumpkin Bread: Delicious Fall Flavors & Spooky Fun.
